Total Pageviews

Friday, October 17, 2014

Bird Cage Garden - How I Do It

                                 
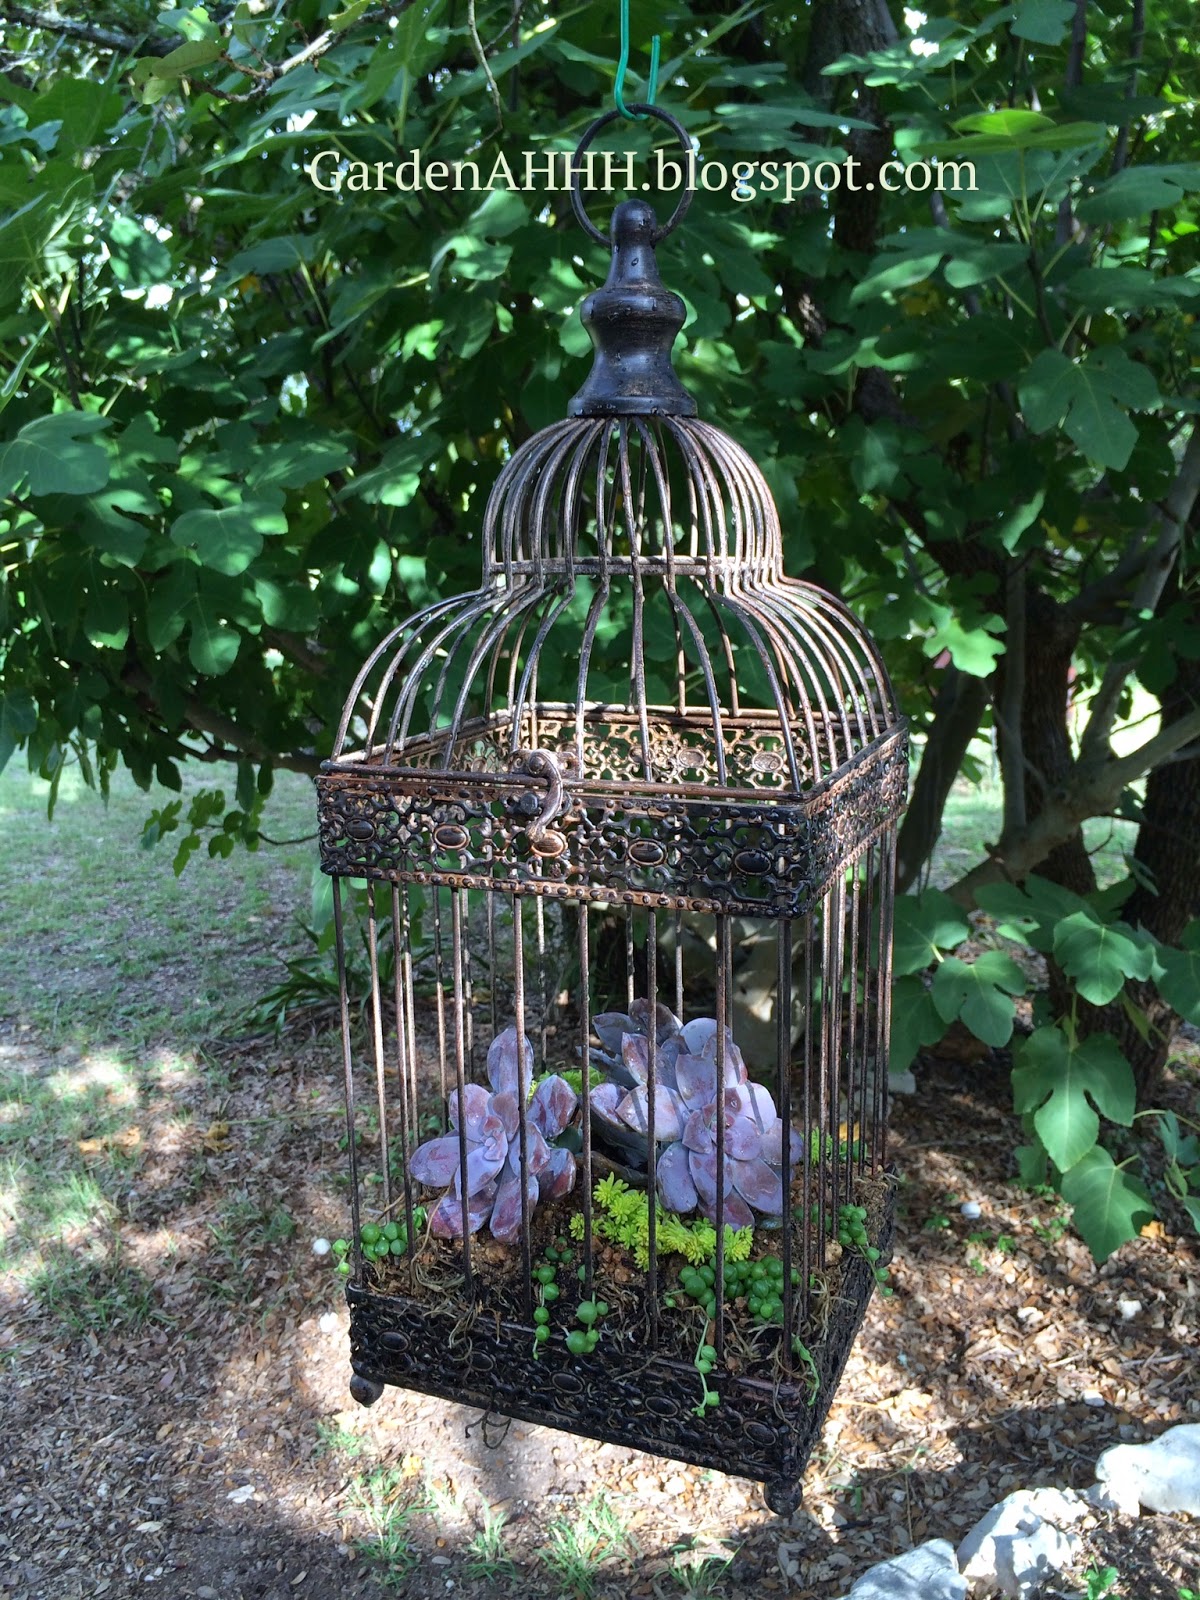
Here is an idea that will add something special to
your garden. You can hang it from your porch or
under a tree. As the plants grow, they will fill up
the bottom of the cage and trail down the sides.

                                      Supplies:  Bird cage, Spanish moss, potting soil,
                                                    crushed granite (optional), succulents,
                                                    wire for securing the cage for hanging.


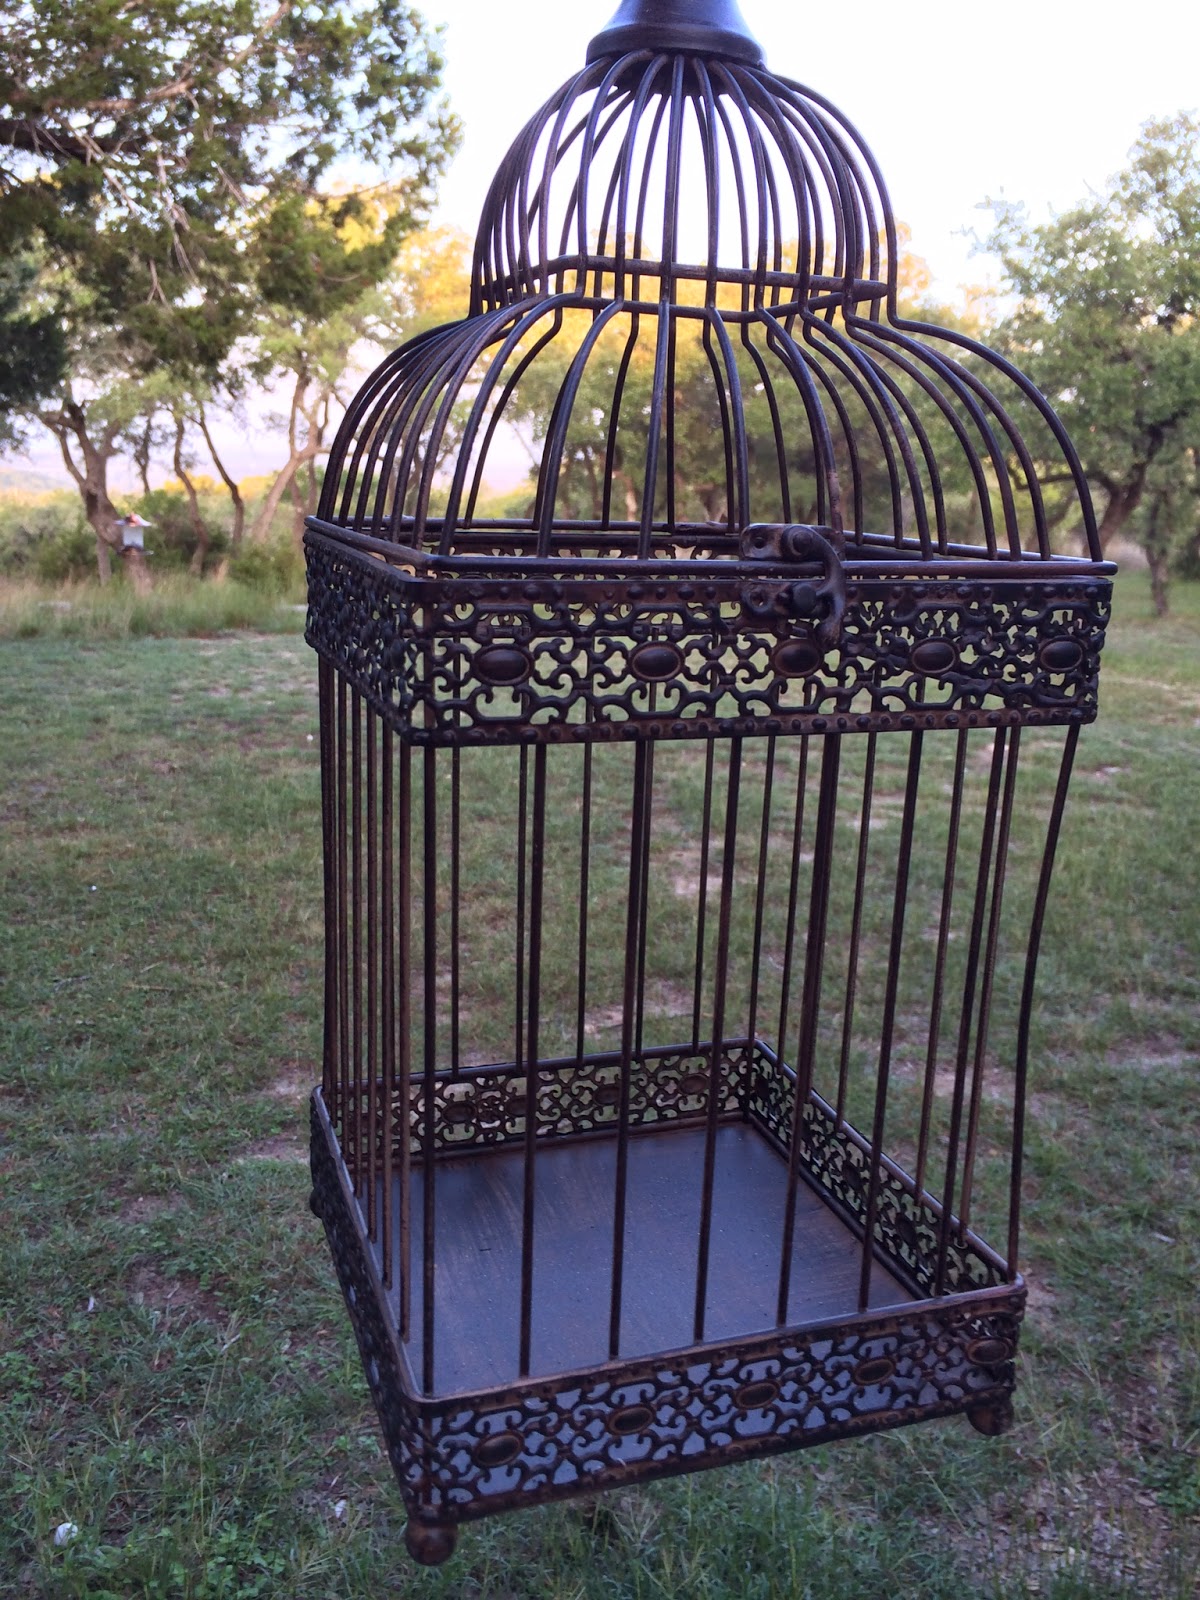
You will need a bird cage.
(I found this decorative one at a hobby store for about $25,
or sometimes you can find a cool used metal bird cage)

Line the bottom of the cage with Spanish moss,
building up along the sides to better hold in the potting soil.

Add your potting soil... mound it so the center is higher
than the edges.  It will settle with time.

Plant your larger showpiece succulents in the center. I added some light colored 
sedum for contrast to set off the dark colored succulents in the center. Along the 
edge, plant trailing succulents... I used String of Pearls.  As they grow, they will 
trail down the outside edge of the bird cage and will look very nice. It is optional 
to put a thin layer of crushed granite over the potting soil (this can be done with a 
long handled teaspoon working around your plants). The layer of granite over the 
topsoil will help keep the soil from washing away over the sides when you water.  
Important tip... this cage will be heavy once it is finished and it has been watered.  
If the top of the cage folds open, you will need to wire it shut along each side. 
The decorative clasp most likely will not be strong enough to support the weight .   
Have fun with it!!!

Monday, September 1, 2014

Tuesday, August 12, 2014

Painting The Fig Leaf Castings

Getting the look that I thought I was after on the leaves was easier than I thought it would be.  I used acrylic paints,  a 2" brush, a small brush, and a small natural sponge.  First I thinned the paint with water so it was more like a stain. I painted everything light green with the 2" brush.  Then I stained the veins with a dark green (sap green) using a narrow brush and sponge-blotted the dark green over the rest of the leaf.  I decided I wanted to darken the edges to give it a richer look using burnt umber.  I brushed it on the edges then blended it using the sponge.  They need to dry then I will seal them.

Fig leaves stained/painted

I was surprised at how easy it was to move the color.  I was able to blot the leaves with my sponge to remove any extra paint.  I applied the thinned burnt umber with a small 1/2" brush and blotted it with my sponge to blend or fade it out so it looked more natural.  I will post pictures of the stages of painting with the next leaf painting.  I wasn't exactly sure of what would work and what wouldn't when I painted these leaves, so I didn't think about taking pictures.


Saturday, August 2, 2014

Castings Of Fig Leaves For The Tabletop Fountain

I made three leaf castings of fig leaves today to be used on my tabletop fountain (only two are shown, the third is not ready to handle). They turned out nice.  I forgot to spray PAM on the first leaf I did, but it didn't seem to make any difference.  The leaf peeled off easily.  The leaves are smaller so I waited for about 6 hours before I tried to handle the castings.  It worked out fine.  They have been cleaned and will be left to cure a while before painting.

Castings of fig leaves to be used in the tabletop fountain
Fig leaves on sand mounds ready for cement application
(the gray blobs are weights made of extra concrete)

Friday, August 1, 2014

Leaf Casting Broken

Well, it's going to happen.  I did a second casting using the same elephant ear which worked beautifully but it cracked when I tried to lift it off of the sand to turn it over.  Disappointed but I will use it to test different stain effects I want to try.  Don't throw your broken pieces away!  Use them for your testing.

Broken leaf... I will use it for testing stain effects

Monday, July 28, 2014

Elephant Ear Leaf Casting

I cut one of my elephant ear leafs to make a leaf casting today.  I was a little better about not mixing too much cement.  I was over by about a cup and a half which isn't too bad... better to much than too little.  Since I had trouble with air bubbles in the cement of my basin project over the weekend, I decided to try brushing the PAM around the leaf after spraying it... I used a clean 2" brush to do that.  It did come out much smoother with less air bubbles but I don't know if it was from the brushing or from casting a single leaf instead of layers of leaves.  I did have quite a bit of cleanup along the edges this time.  The edges of the leaf were sort of ruffled which looks nice but the cement had a tendency to get away from me.  My cement may have been a little too loose so I will make it a bit drier to see if that helps.  The leaf released without any tears so I am going to use it to make a second leaf (I put it in water out in the garage refrigerator to keep it fresh).  Here are some photos of my casting process.  Detailed instructions can be found on the "Leaf Casting" page her on my blog.

A clean leaf over formed damp sand covered in plastic
Work the cement from the middle of the leaf outward toward the edge.
After you have finished applying cement all the
way to the edge, lay a heavy wire on the back.
Add more cement to secure the wire.
Brush it smooth with a damp paint brush so it looks nice.
You will probably need to rinse the brush a few times to clean
the cement off.  Be sure to not to have the brush to wet.  
Here it is!  I just love this part!!!  After 8 hours of drying, I
flipped it over and removed the leaf. It looks pretty good   :-)
The edges need cleaning... this is where the cement
got away from me because it was a little too wet.
Edges cleaned
The natural pointed tip of the elephant ear
All cleaned up with no breaks.  I have covered it back
up with plastic.It just needs to cure for a week or more.

Sunday, July 27, 2014

Leaf Casting of Basin Using Fig Leaves

I removed the fig leaves from the basin I made yesterday and this is what I have.  Nothing cracked and tips are all in tact... yay!  While the cement was still soft, I deepened some of the veins using a metal skewer where I thought it needed it.  The shape turned out nice but I found that I had a lot of air holes in the surface of the cement.  I'm not sure what is causing this.  I didn't have any sand on the leaves... they were clean.  I'm wondering if it is because I used several layers of leaves and opportunity was there for air to be trapped under the cement.  Has anyone else ever had this happen?  Hopefully, it will be fine and not that noticeable once completed.


Saturday, July 26, 2014

Tabletop Fountain

Today, I thought I would start a tabletop fountain with fig leaves from our fig tree.  I am starting with making the bowl/basin.  I mounded up the wet sand that will shape the basin then covered the sand with saran wrap. Next, I placed the leaves in a circle with leaf tips pointing down.  Spray with Pam cooking spray. Start adding and working the concrete (refer to concrete mix info on my leaf casting page) from the center down to the tips of the leaves.  Remember, you need to have it at east 1/4" along the edge of the bowl.  Let it set up for an hour or so then cover with plastic to help prevent cracking.

Fig leaves to form basin


Spread concrete over the leaves


Wednesday, July 16, 2014

Leaf Castings


I came across these fountains on Pinterest a few weeks ago and fell in love.  The beautiful fountain leaves are actually stained or painted concrete leaf castings.  Elephant Ears were used for the fountain in the photo on the left and Gunnera leaves for the fountain in the photo on the right.  What a great idea for the perfect garden fountain.   I knew it was time to research how to do it.   The great thing about blogs is we can read about the process and what others have experienced...  make note of not only what has worked but especially note what doesn't work... no need to repeat history if something doesn't work.


Since I have friends interested in learning how to do leaf casting, I thought it might be helpful and fun to post my own experiences with making leaf castings and eventually the assembly of my first fountain.  I haven't found instructions for fountain assembly online but surely it can't be too difficult.  My husband will help, he has been a big help for the leaf castings.  He has much more experience with concrete than I do.   Here on my blog you will hear about both my successes and failures... both are helpful.  Please feel free to make suggestions or comments and share your experiences...  that is what it's all about.