This is my first freeform hypertufa. It does look much nicer with succulents in it... hahah!
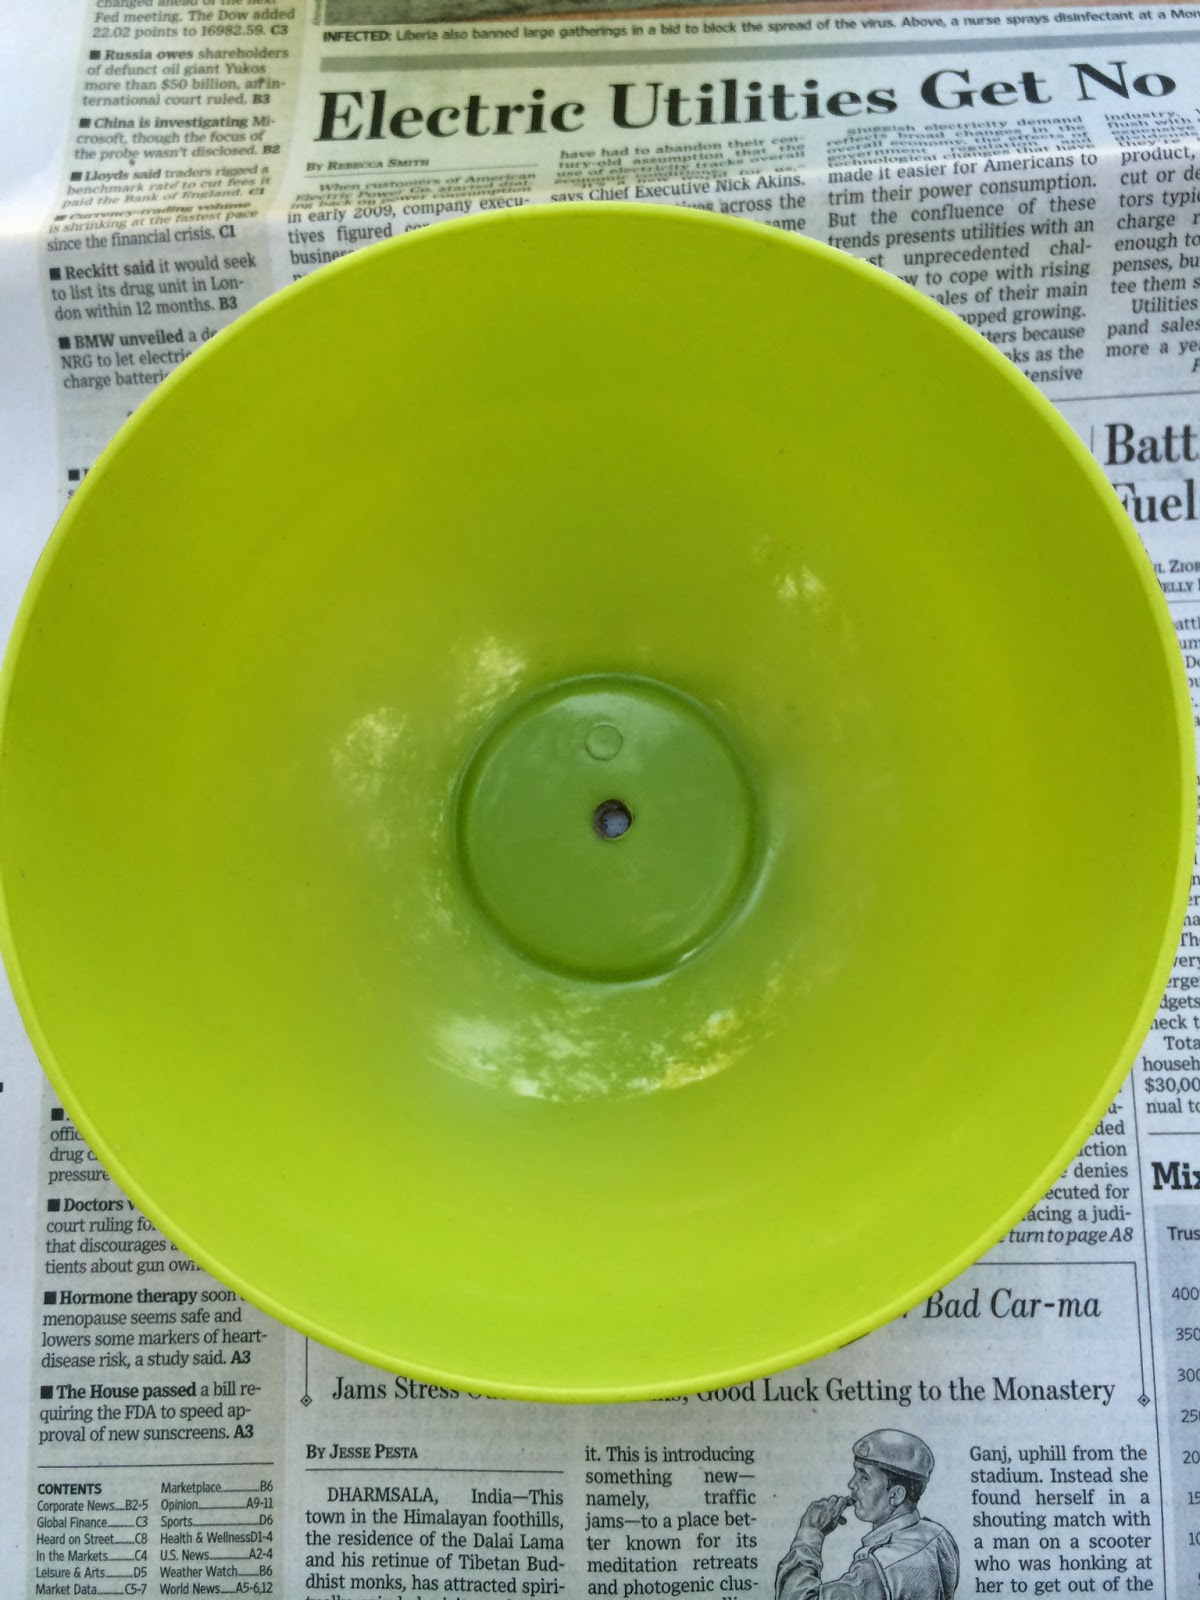
MOLDS: There are many inexpensive things you can use for molds. I like the plastic picnic bowls that I found at a dollar store for 4/$1 cereal size and $1 for serving bowl size. They can be used over and over again... perfect! The clear container shown below is actually a plastic saucer that you set a potted plant in. I liked the ridge design and thought I would see how that works for a mold (I haven't used it yet).
 |
| This is a lid from a bakery item. Try whatever shapes capture your attention. |
 |
I like to put a hole in the bottom for two reasons. It gives a place for the water to drain through,
and it helps prevent a suction from forming when you try to remove your hypertufa project. |
The hypertufa recipe used is:
1/3 part Portland cement (it will be by the grouts and cement in construction supply)
1/3 part vermiculite (you can find either in the garden section at building supply stores)
1/3 part peat (it will be in garden supply)
(I prefer using vermiculite over the pearlite. The reason is the pearlite mix seems a little more crumbly and soft so I really have to be careful when I handle it. It seems to harden slower.)
Note: Wear a dust mask when mixing the cement, you don't want to breathe in the fine dust.
Also, wear gloves when you are working with the cement and forming your pots.
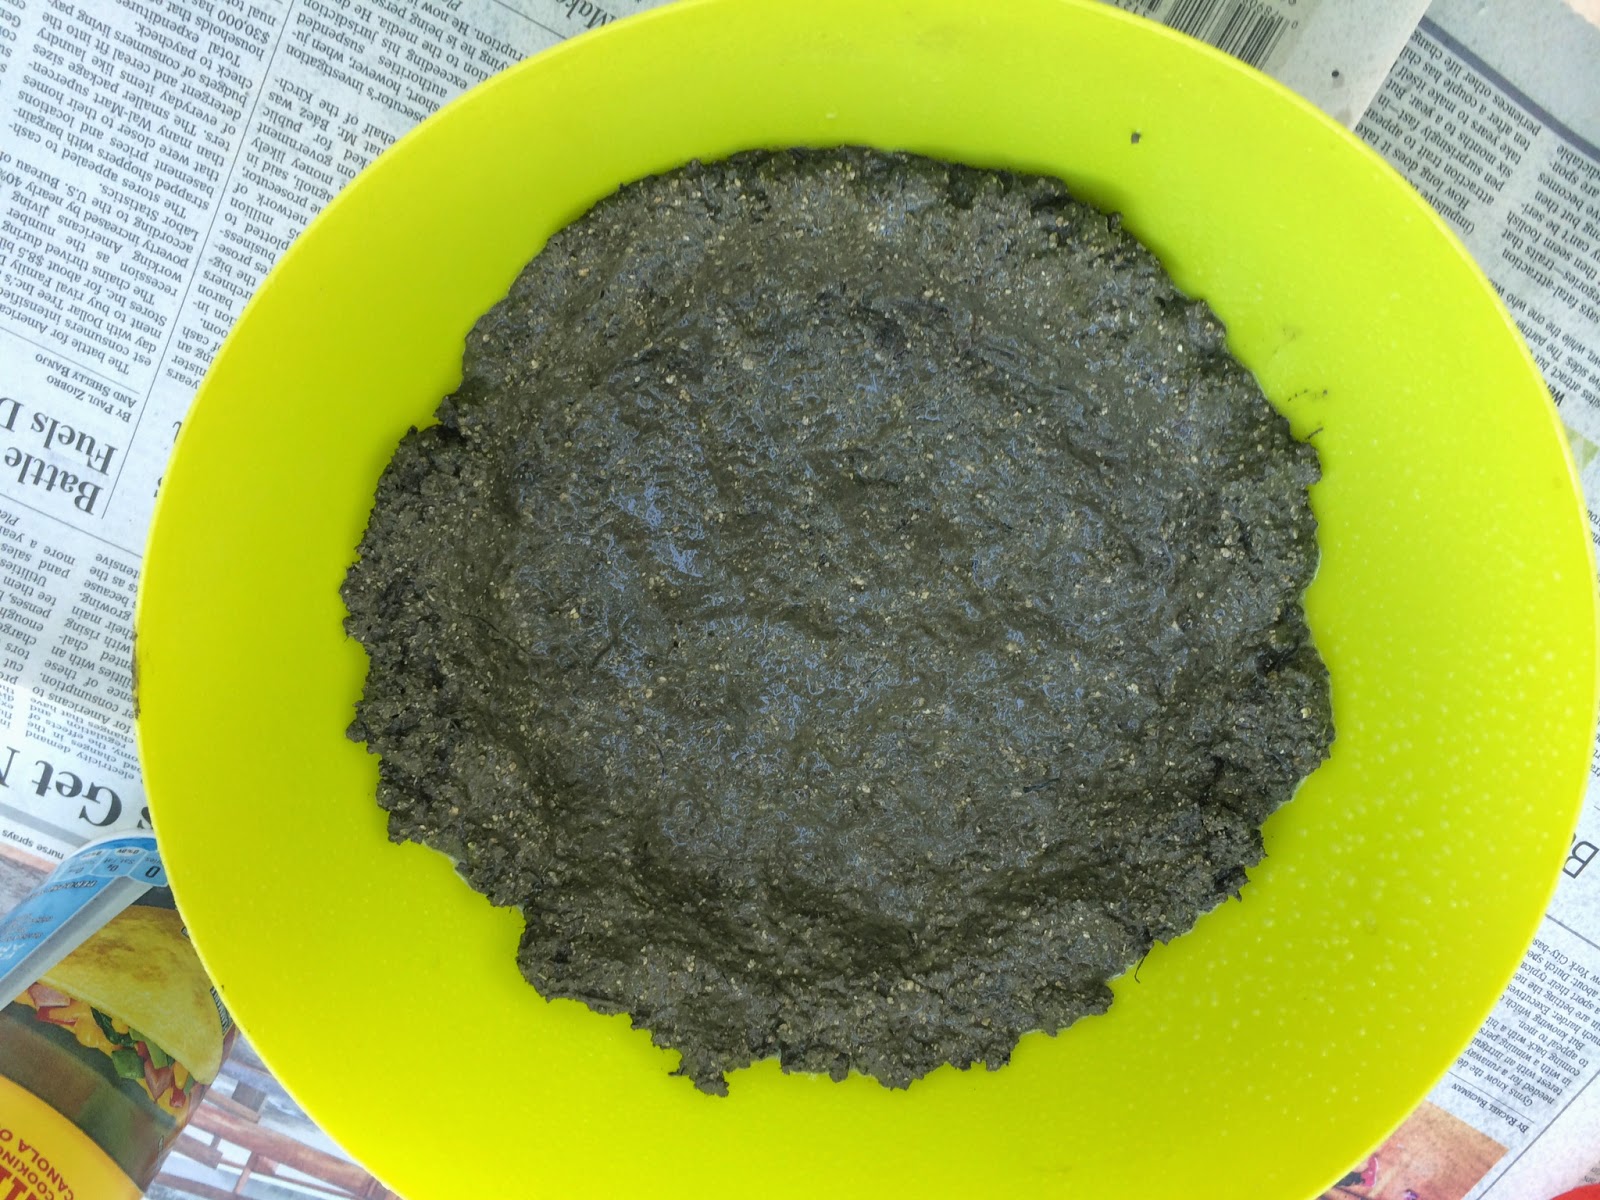
Mix equal parts of peat, vermiculite, and portland cement. Some people use pearlite in place of vermiculite but I found it tends to break easily after it dries... so I am removing it from the suggested mix. Add small amounts of water and mix until you have the consistency of soft cookie dough. It needs to be stiff enough to hold when you press it to the sides of the container.
 |
Hypertufa mix needs to be stiff.
This mix is with vermiculite (my favored hypertufa mix) |
 |
| Push it down firmly at the bottom first |
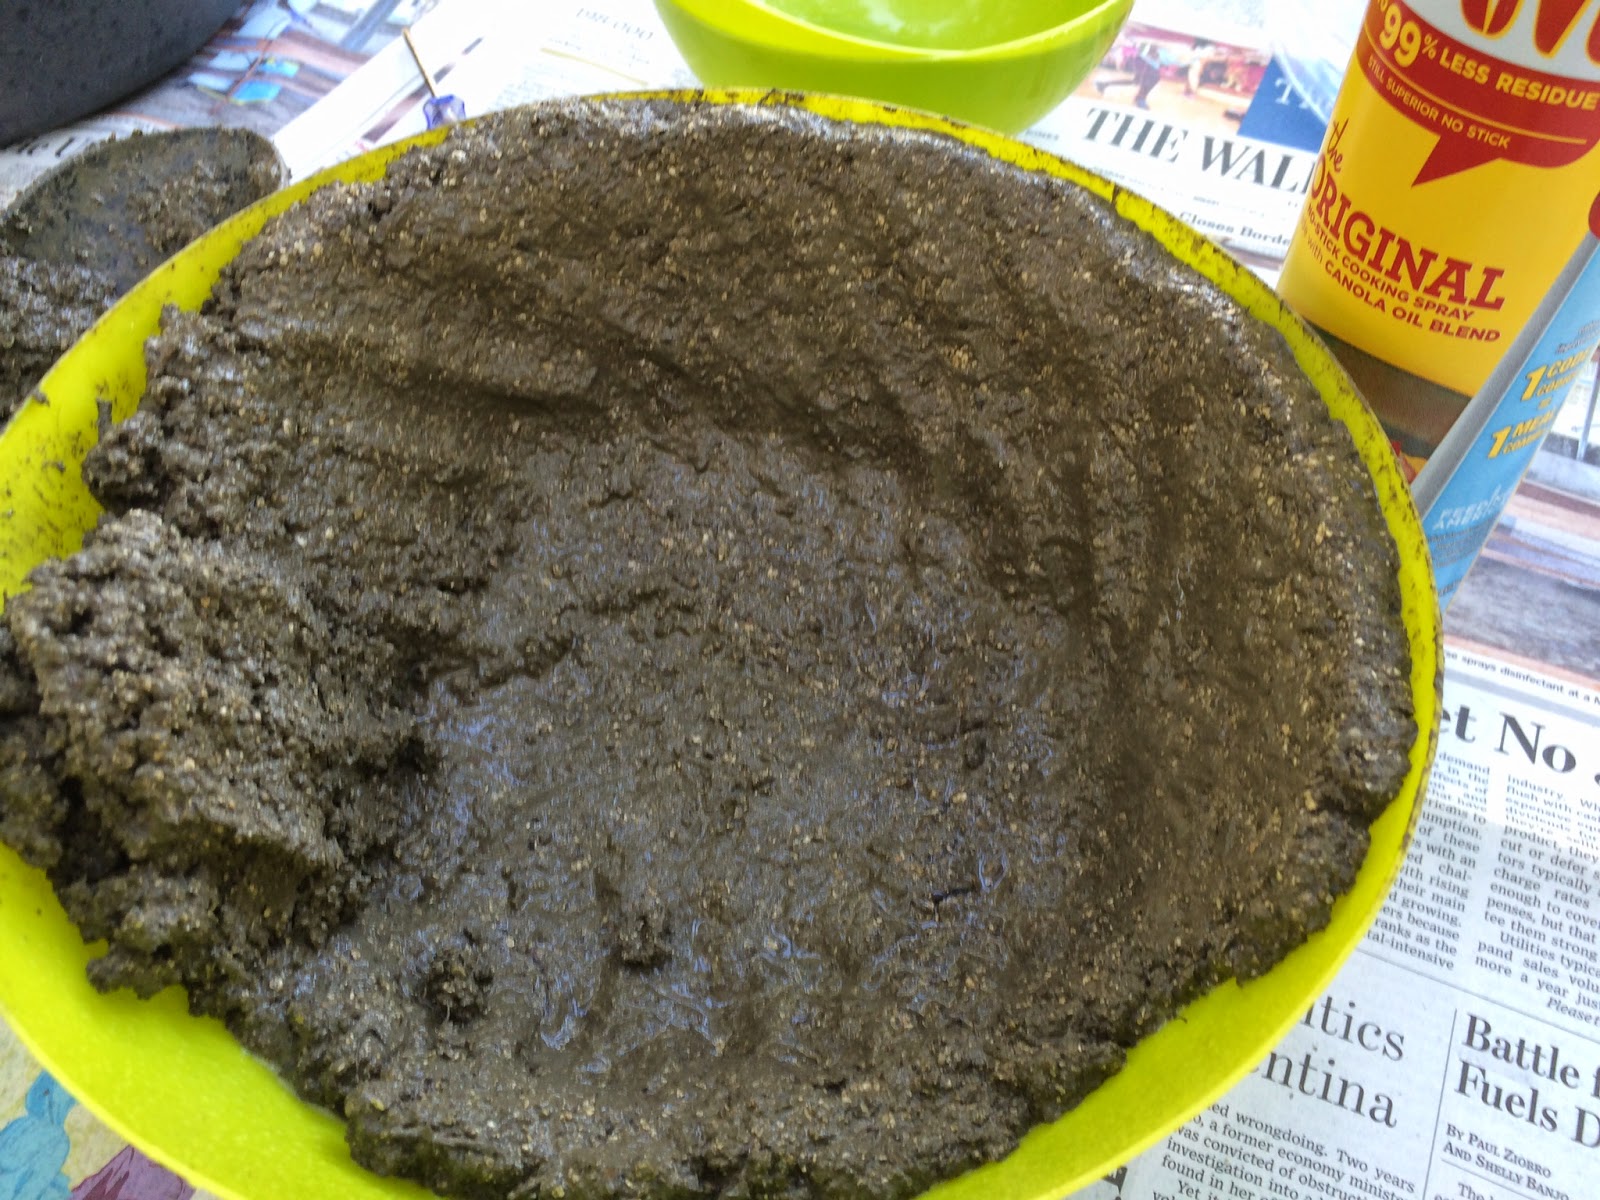 |
Work it up along the sides of your mold pressing against the bowl.
1/2" - 3/4" is a good thickness. Put a drain hold in the bottom. |
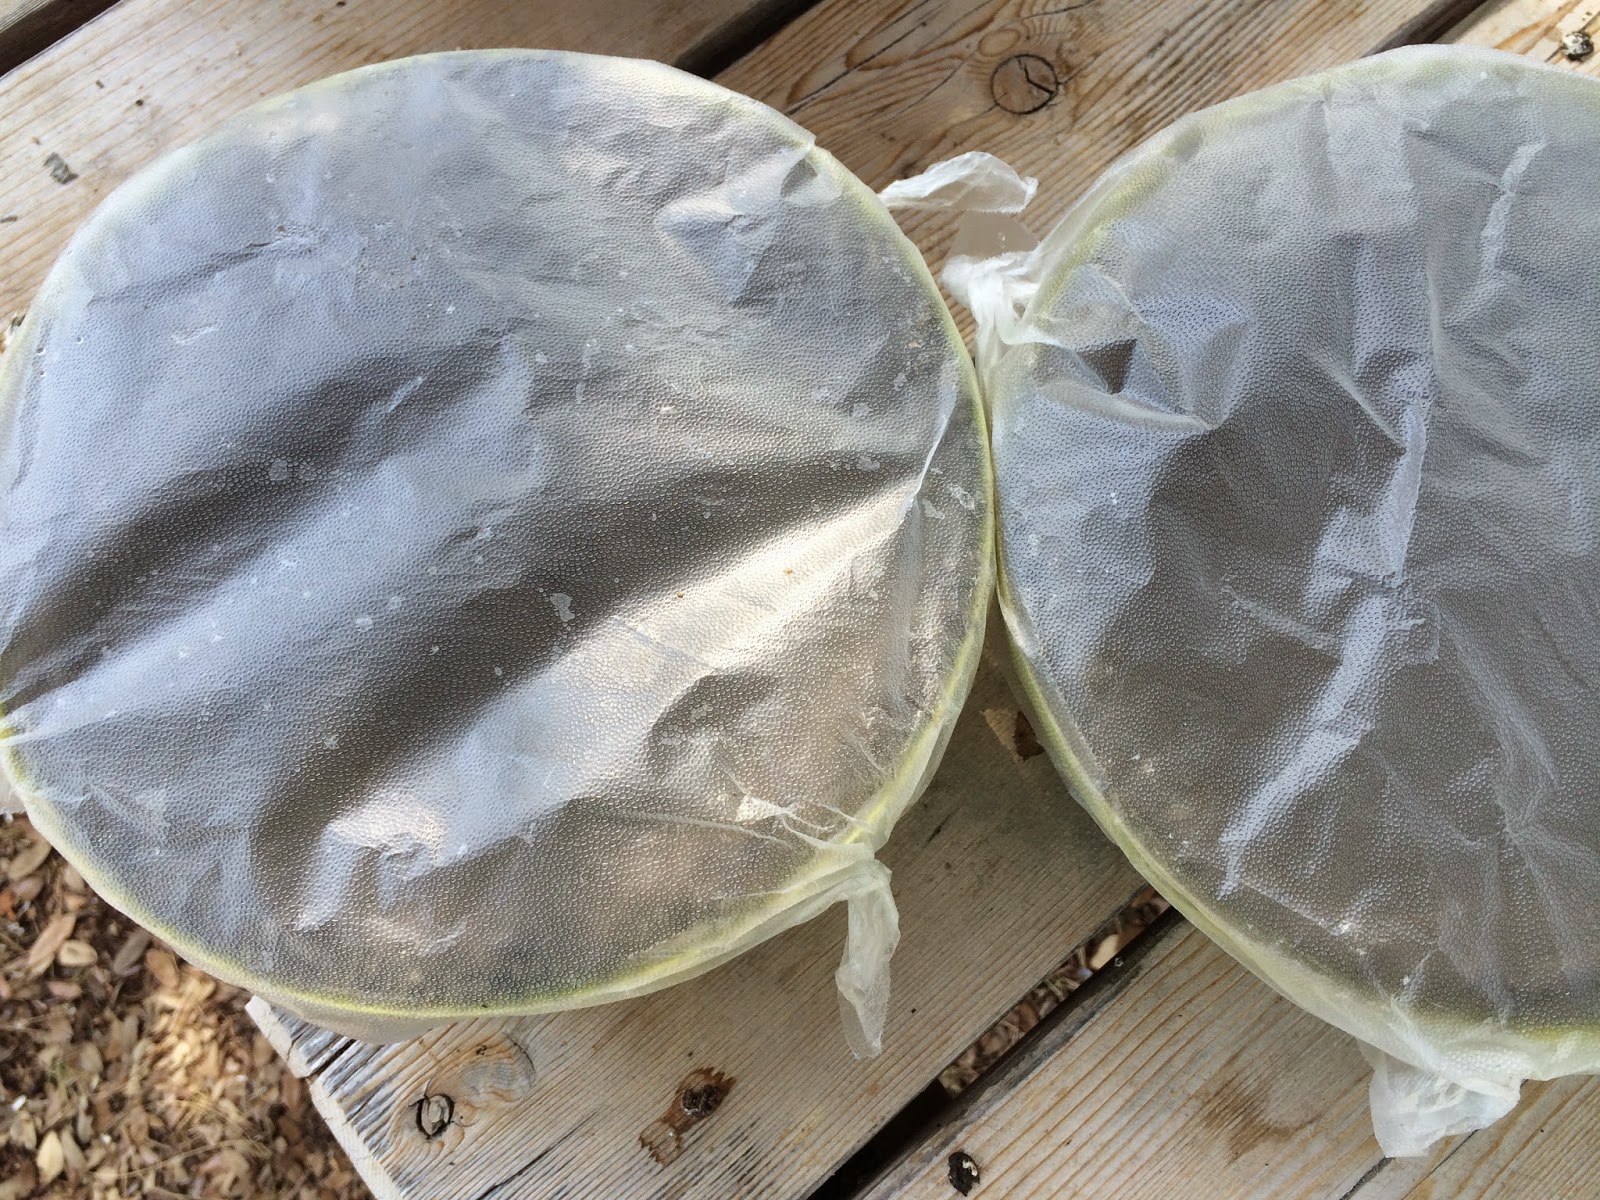 |
| Cover with plastic wrap to slow down drying which helps prevent cracking. |
WIRE BRUSHING: Once dry, you can brush the outside of the containers with a wire brush. This is what gives it that awesome look we all love! (Using the wire brush creates a lot of dust, remember to wear your dust mask)
 |
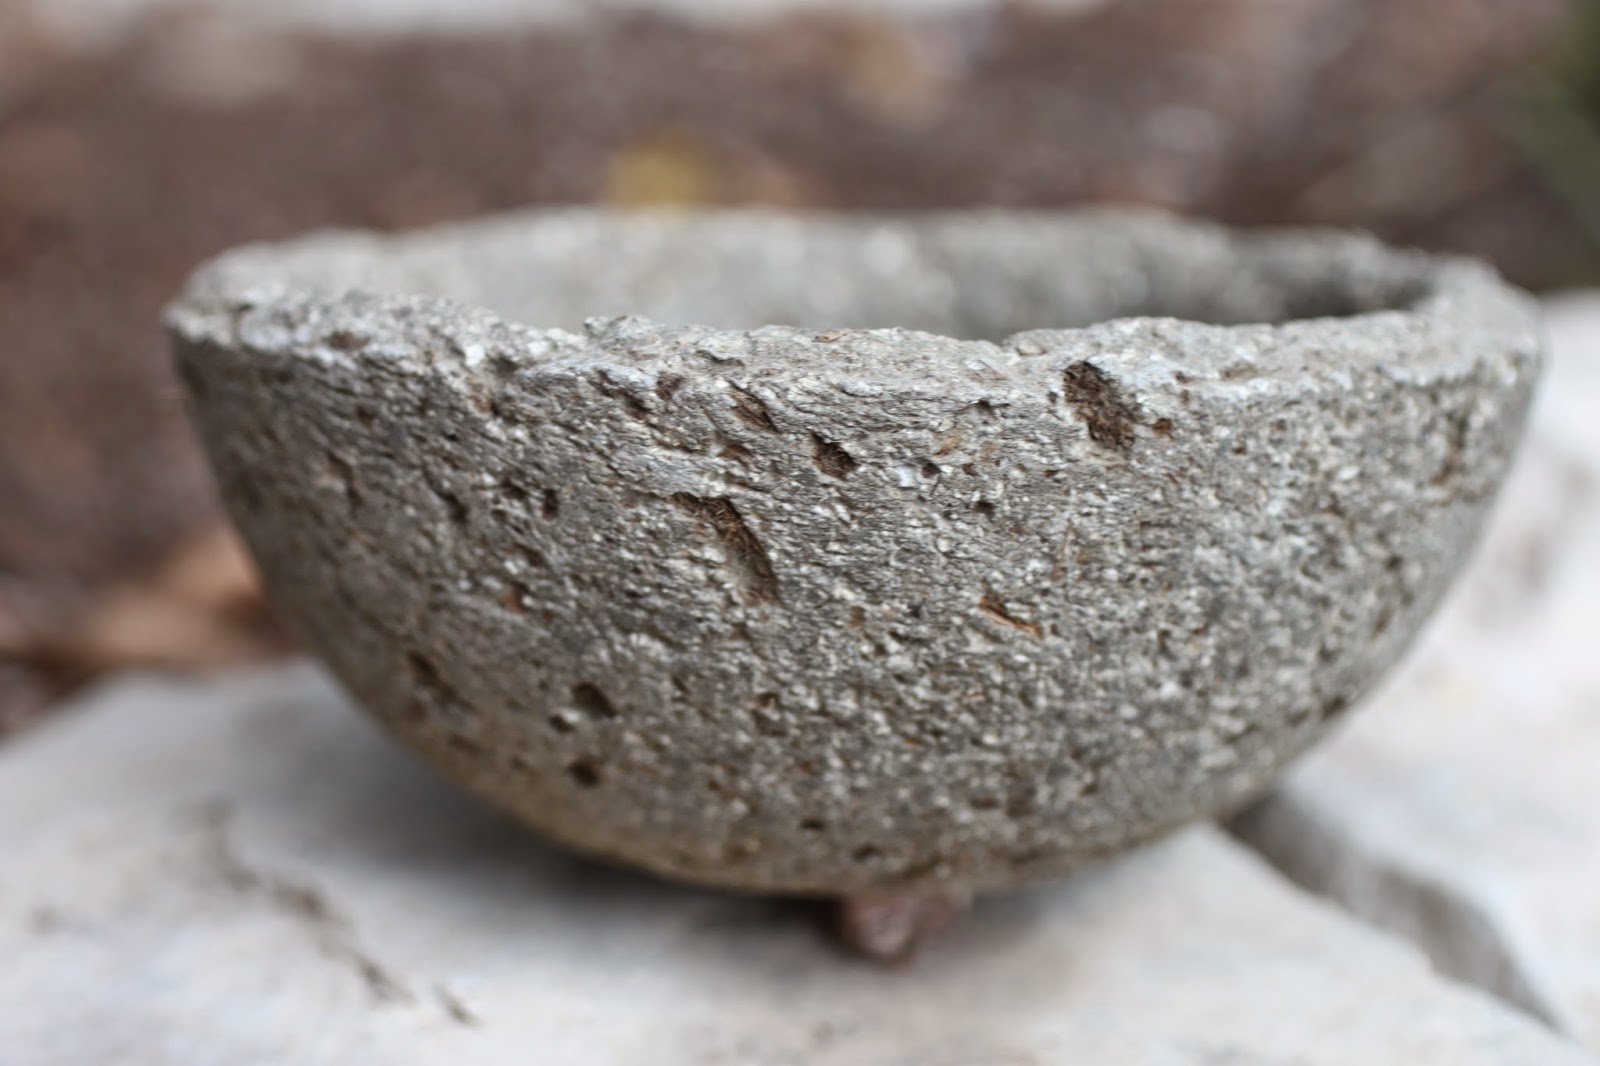
| This is what it looks like after removing from the mold |
 |
| This is what it looks like after wire brushing |
Once you have wire brushed your hypertufa, set it in an out of the way place to cure for one or two weeks.
Have fun with it! Please share your hypertufa experiences!!!


Please feel free to leave comments or questions ...Diana.
ReplyDelete